Pages & documents
This chapter shows how to organise the pages of a PDF: reorder, rotate and delete them, insert pages from other PDFs, merge several PDFs or split one up. You will also crop pages, fit them to a paper size, add bookmarks and make large files smaller.
Every change in this chapter can be undone with ⌘ Z. Changes apply to the open document first and only reach the file when you save with 💾 or ⌘ S. The exceptions are Seite als PDF speichern (save page as PDF) and Aufteilen (split): they write new files straight away and leave the open document unchanged.
Thumbnails
The sidebar's Seiten (pages) tab shows every page as a thumbnail with its number. The current page is highlighted; click a thumbnail to jump to that page. If you drag the sidebar's right edge to make it wider, the thumbnails grow too.
Right-click a thumbnail to open the page menu. Its first line says which page it applies to; below that:
| Entry | What it does |
|---|---|
| ⟳ Rechts drehen, ⟲ Links drehen (rotate right, left) | Rotate the page permanently by 90°. |
| ⏶ Nach oben, ⏷ Nach unten (move up, down) | Move the page one position (greyed out for the first or last page). |
| PDF davor einfügen …, PDF danach einfügen … (insert PDF before, after) | Insert the pages of one or more other PDFs before or after this page. |
| 💾 Seite als PDF speichern … (save page as PDF) | Save just this page as a PDF file of its own. |
| 🗑 Seite löschen (delete page) | Remove the page. Greyed out in a one-page document. |
The main commands for the current page are also under : ⟳ Seite n dauerhaft drehen (rotate page n permanently), 🗑 Seite n löschen (delete page n) and Seite n als PDF speichern … (save page n as PDF).
Reordering pages
Grab a thumbnail with the mouse and drag it up or down. The dragged page fades and a coloured line shows where it will land. Release, and it is inserted there. For small moves, the page menu is handier: ⏶ Nach oben and ⏷ Nach unten.
Move a page to a different position
- Open the Seiten tab in the sidebar. If the sidebar is hidden, click ☰.
- Grab the thumbnail of the page you want to move.
- Drag it to the target position until the coloured line appears between the right pages, then release.
- The page numbers update. If you don't like the result, press ⌘ Z.
- Save with ⌘ S.
Rotating pages
Rotate a page permanently from its page menu (⟳ Rechts drehen / ⟲ Links drehen) or, for the current page, via . The rotation is saved in the file, so it also applies in other programs.
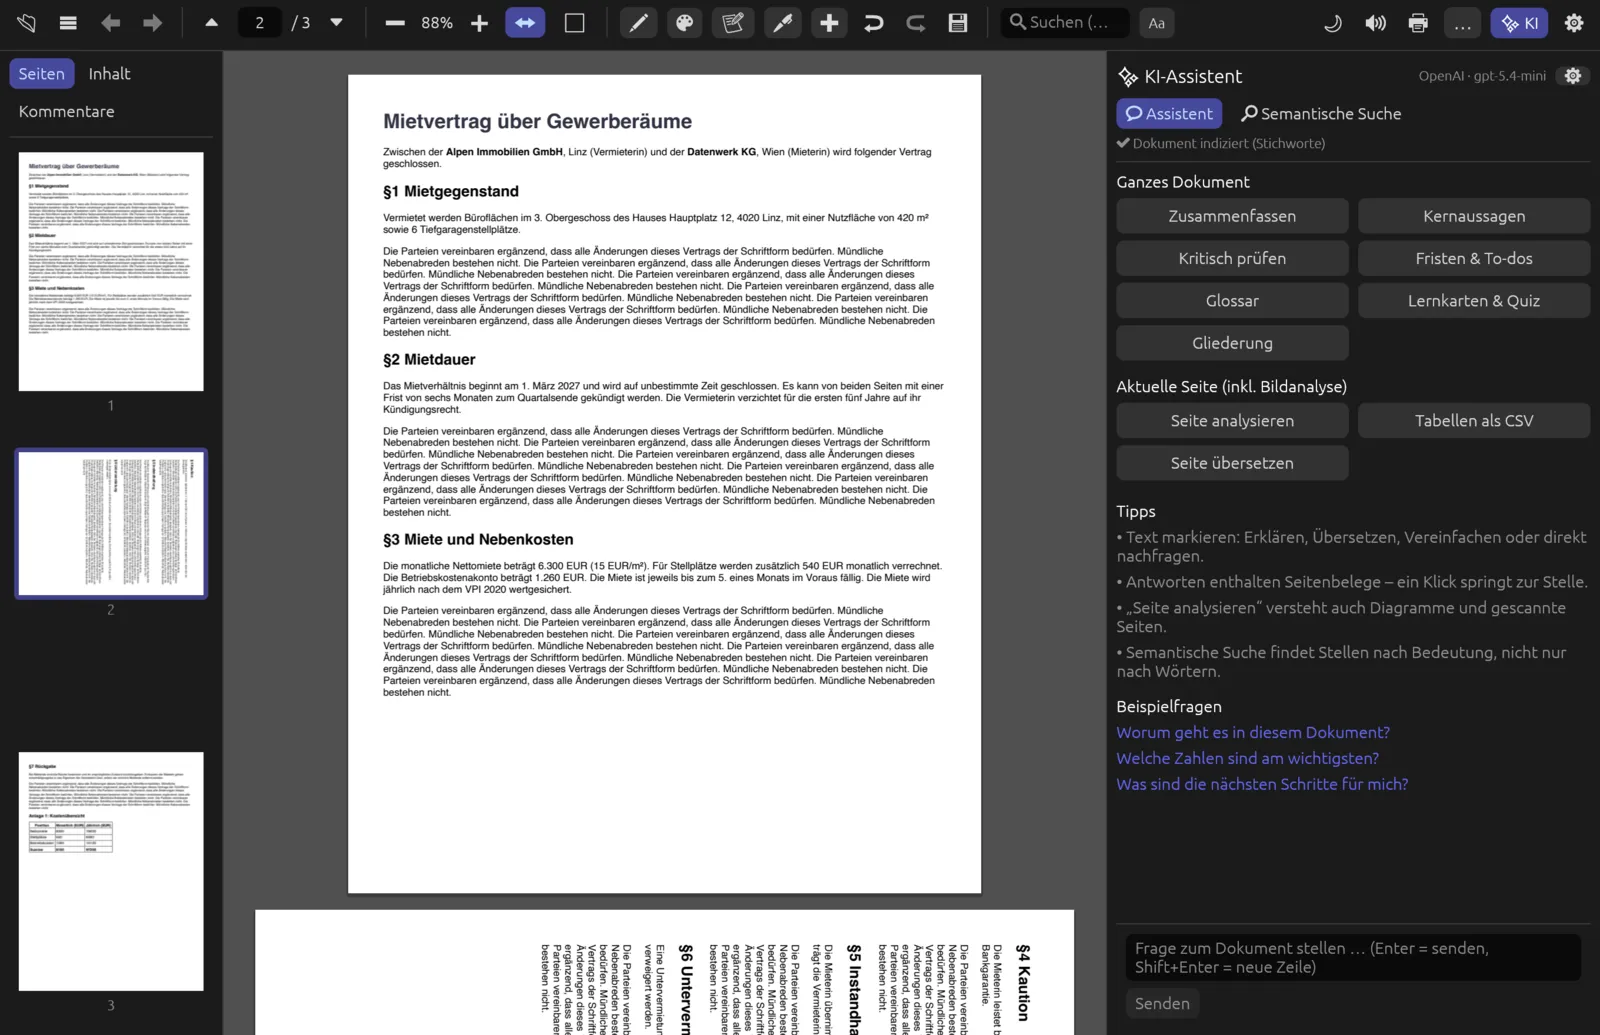
If you only want to read more comfortably without changing the file, rotate the view instead with ⌘ R or ⌘ L – see Rotating the view.
Deleting pages
Choose 🗑 Seite löschen in a thumbnail's page menu, or for the current page. The last remaining page of a document cannot be deleted.
Inserting pages from other PDFs and merging
To bring pages from other files into the open document:
- At a specific place: right-click a thumbnail, then PDF davor einfügen … or PDF danach einfügen ….
- At the end (merge): (append PDFs, merge).
In the PDF einfügen (insert PDF) file dialog you can select several files at once. Pagelier inserts all pages of each chosen file one after another.
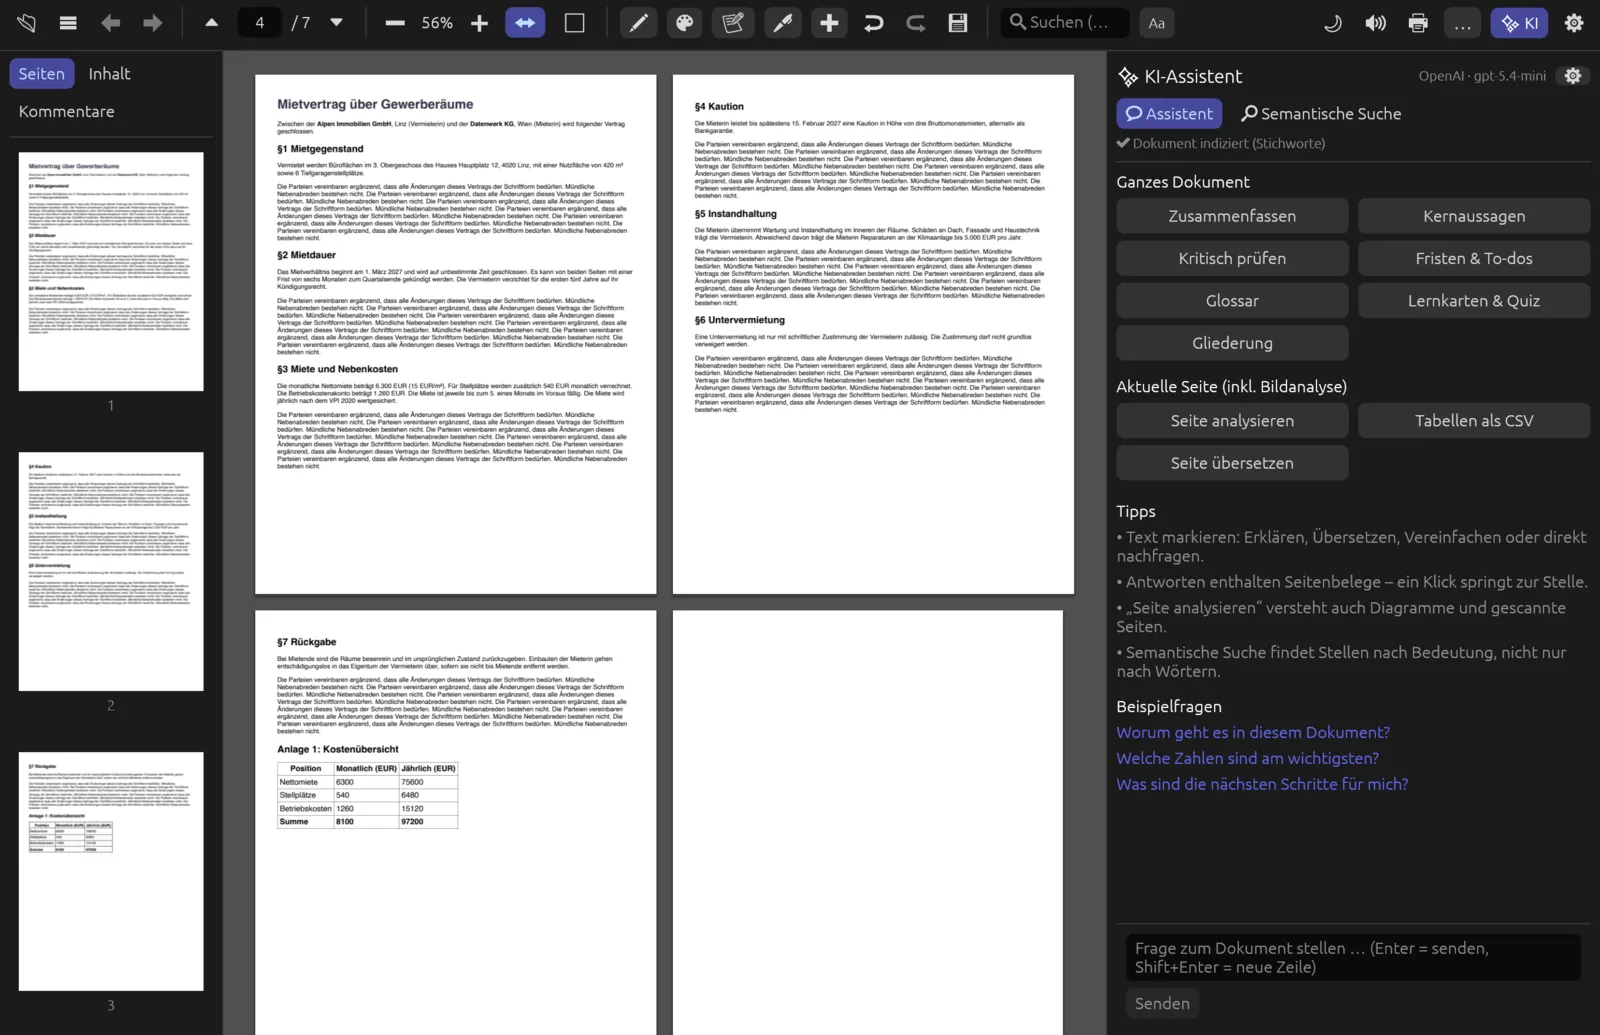
Form fields on inserted pages stay fillable. If a field has the same name as one already in the document, Pagelier adds “_2” to the name so that both keep separate values.
Merge several PDFs into one
- Open the PDF that should come first.
- Choose .
- Select the other PDFs in the file dialog and confirm.
- Check the thumbnails; drag individual pages into place if needed.
- Save the result under a new name with (⌘ ⇧ S) so that the first PDF is kept as it was.
Saving a page as a separate PDF
💾 Seite als PDF speichern … in the page menu, or , writes exactly that one page to a new file. Pagelier suggests the name filename-Seite-n.pdf. “Gespeichert: …” (saved) at the bottom of the window confirms it. To extract several pages at once, use Split.
Splitting a PDF
(split) opens the dialog PDF aufteilen (split PDF). Choose one of four methods:
| Option | Result | File names |
|---|---|---|
| Alle n Seiten eine neue Datei (a new file every n pages) | Equal parts of n pages each (the last may be shorter). | vertrag-Teil-1.pdf, vertrag-Teil-2.pdf … |
| An jedem Lesezeichen der obersten Ebene (at every top-level bookmark) | One part per main chapter; pages before the first bookmark go into a part called “Anfang” (beginning). Only available if the PDF has bookmarks. | vertrag-01-ChapterName.pdf … |
| Bereiche: (ranges) | Exactly the ranges you enter, e.g. “1-3, 4-8” or “2, 5-6”. Each range becomes a file. | vertrag-Seiten-1-3.pdf, vertrag-Seite-5.pdf |
| Höchstens x MB je Datei (at most x MB per file) | Parts that stay under a size limit – handy for e-mail attachments. | vertrag-Teil-1.pdf … |
Below the options the dialog previews how many files will be created and what the first one is called, or explains why the input doesn't work (for instance that it would produce only one part). Ordner wählen und speichern … (choose folder and save) asks for the target folder; the parts are written immediately and the open document stays unchanged.
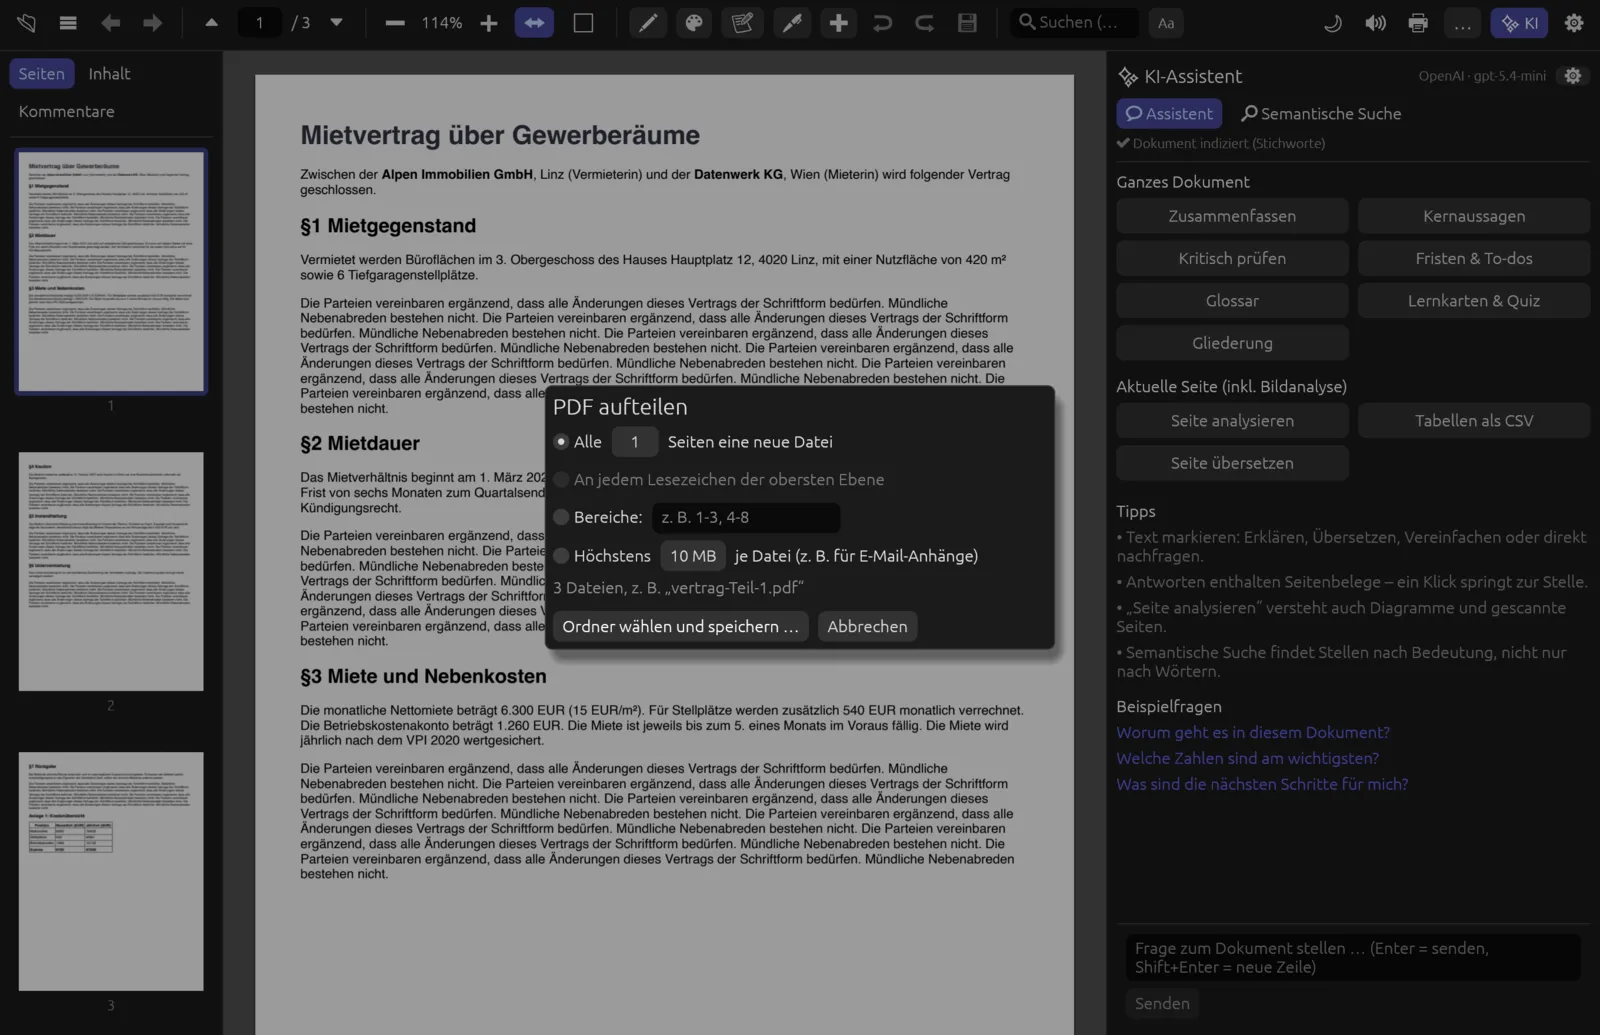
Save the chapters of a PDF as separate files
- Choose .
- If the PDF has a table of contents, choose An jedem Lesezeichen der obersten Ebene. Otherwise choose Bereiche: and type the chapters' pages, such as “1-4, 5-9, 10-12”.
- Check the preview below the options, e.g. “3 Dateien, z. B. …” (3 files, e.g. …).
- Click Ordner wählen und speichern … and pick a folder. At the bottom of the window Pagelier reports how many files were saved.
Cropping pages
Cropping sets which part of a page is visible – to get rid of wide margins or scanner edges, for example. Content outside the area is hidden, in print as well.
- Choose (crop, drag out the area), or the ⛶ Zuschneiden tool in the edit bar (✚).
- Drag a rectangle on the page around the area that should remain visible.
- In the dialog Seite zuschneiden (crop page) choose Nur Seite n (only page n) or Alle n Seiten mit denselben Rändern (all n pages with the same margins) and confirm with Ausschnitt übernehmen (apply crop).
(remove crop from page n) shows the current page in full again.
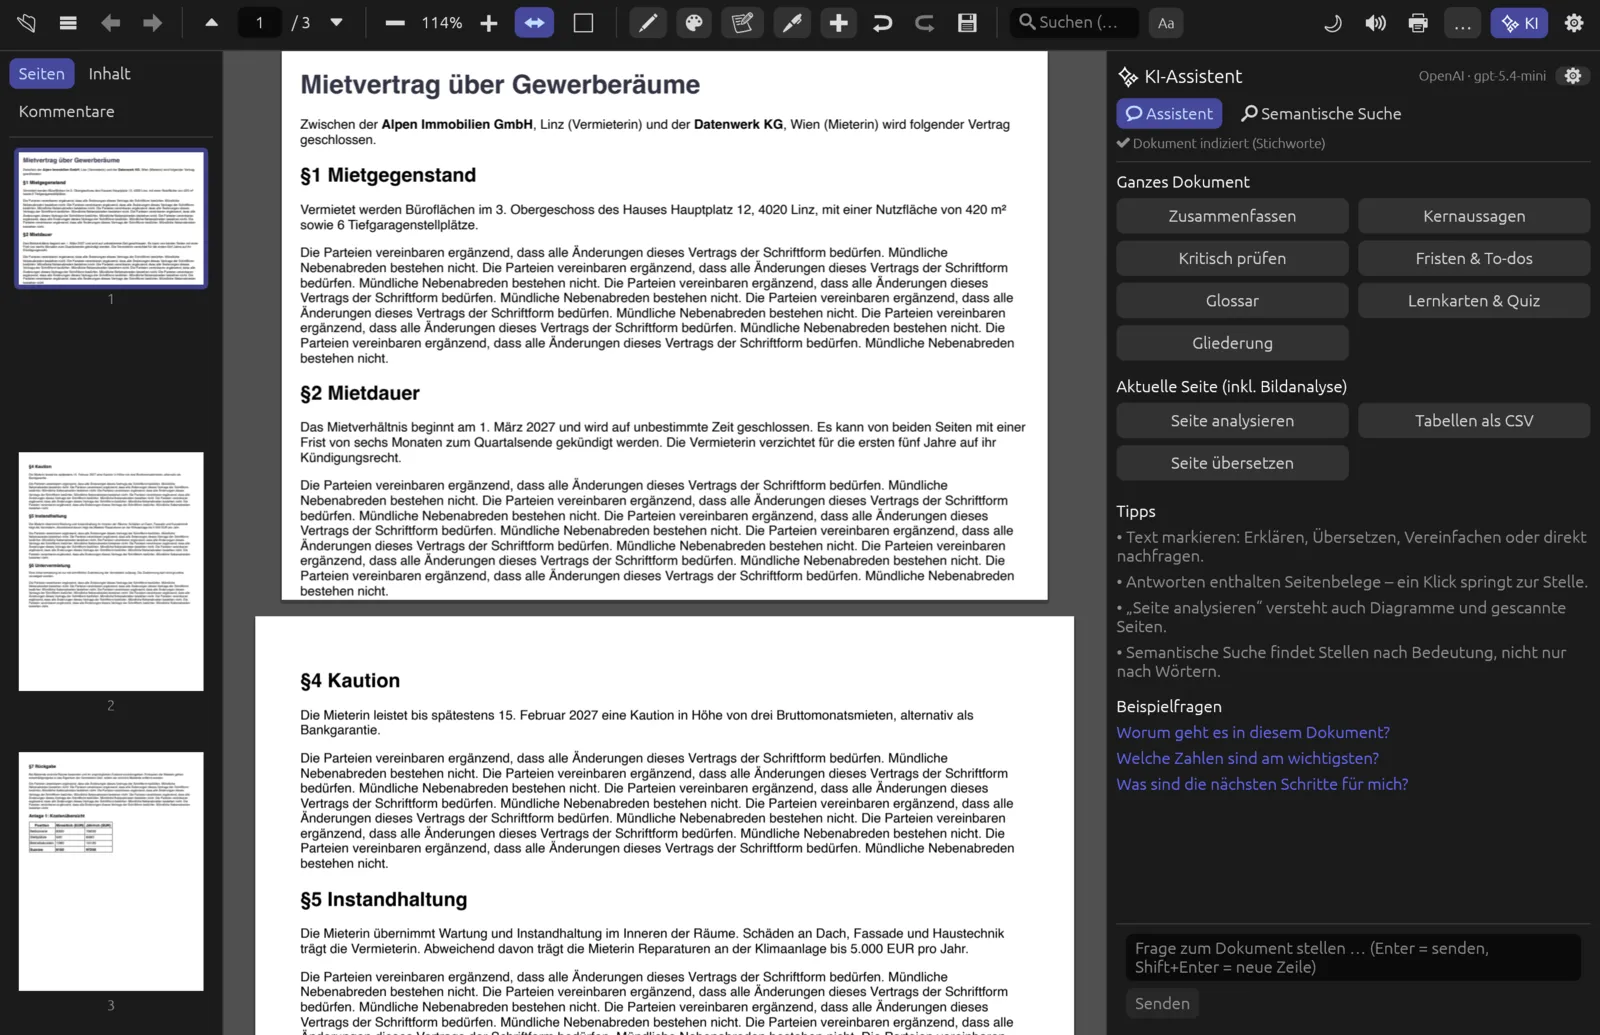
Cropping only hides content – it stays in the file and can be made visible again. To really remove content, use redaction.
Changing the page size
(change page size) fits pages to a paper size: A4, A3, A5, Letter or Legal. The content is scaled proportionally and centred on the new page; landscape pages stay landscape. Choose Nur Seite n (only page n) or Alle n Seiten (all n pages) and click Anwenden (apply).
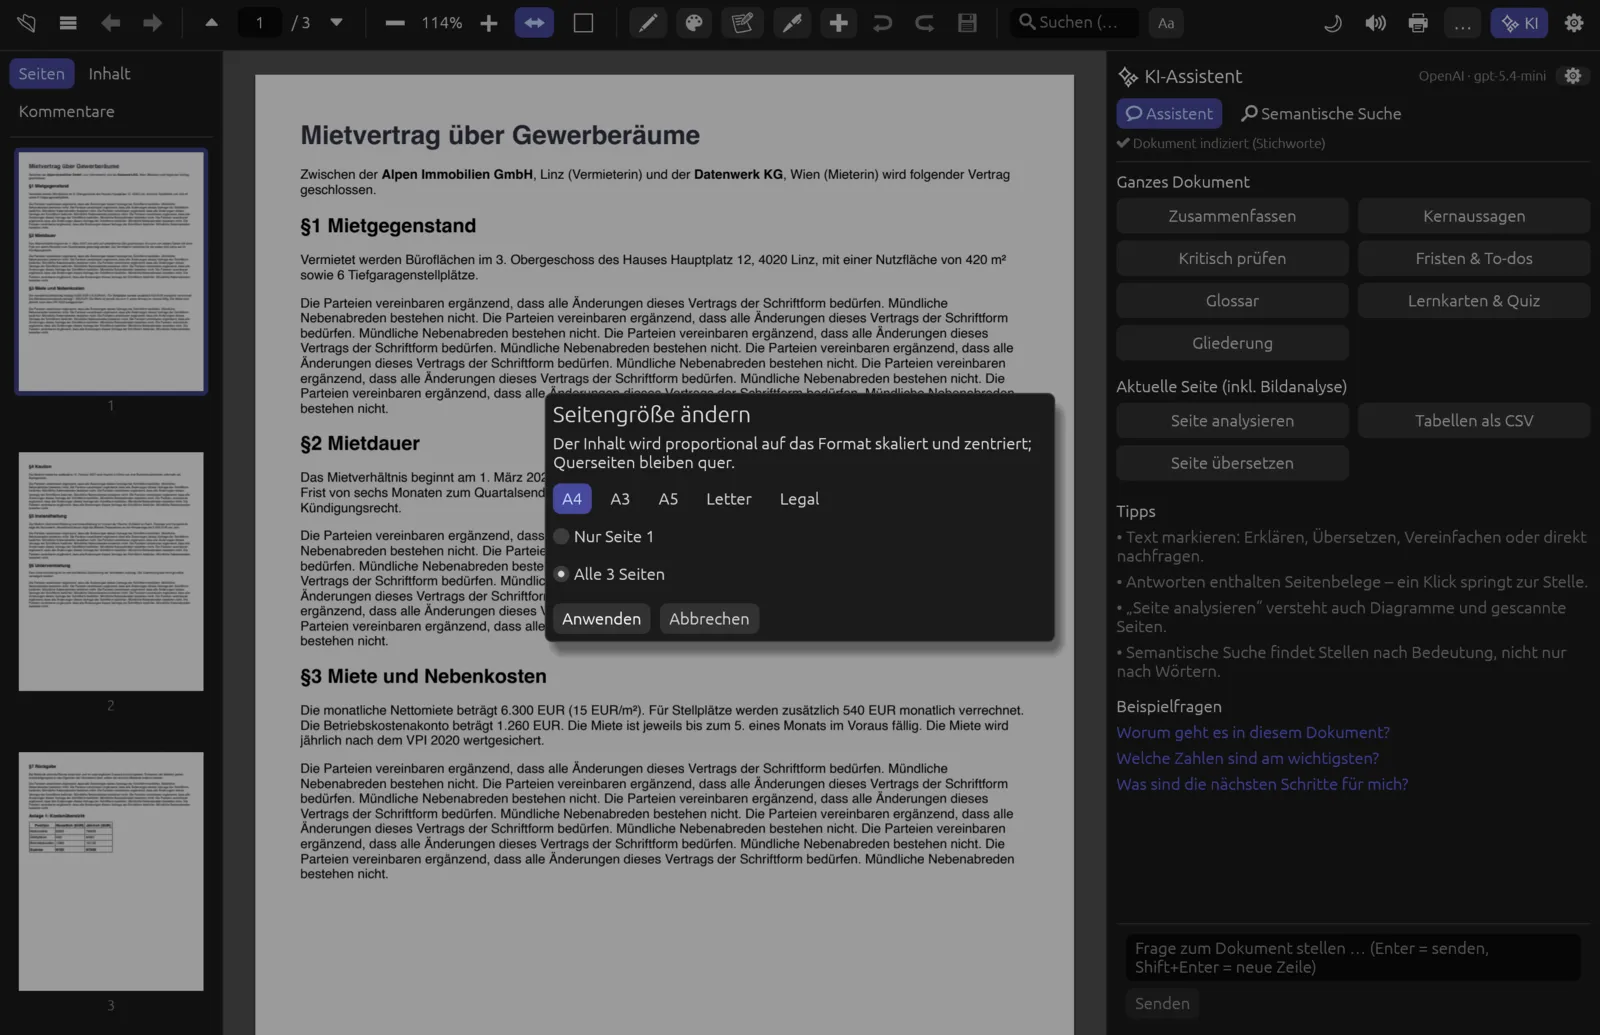
To see a PDF's paper size, open (⌘ I) and look at Seitengröße (page size).
Bookmarks
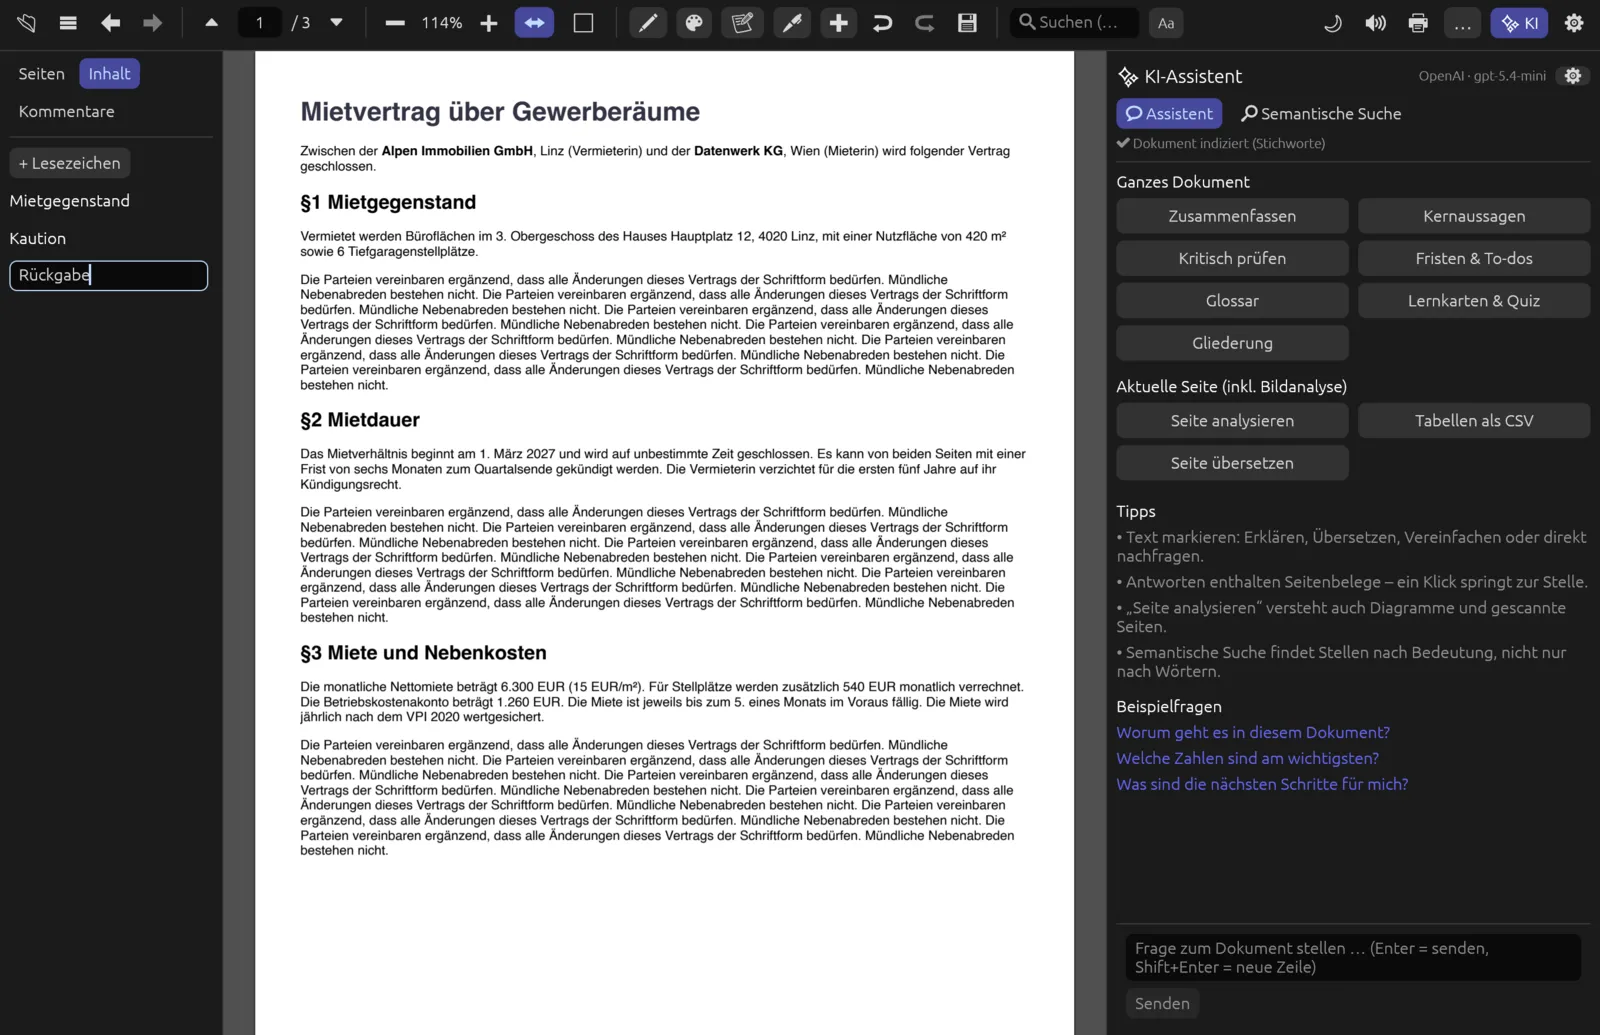
Bookmarks make up a PDF's table of contents; you see them in the sidebar's Inhalt (contents) tab. Click an entry to jump to its page.
Adding bookmarks
Go to the page you want and click + Lesezeichen (+ bookmark) in the Inhalt tab – or choose (bookmark this page). Pagelier suggests the page's first line of text as the title (“Seite n” if there is no text) and opens an input field straight away. Type the title you want and click elsewhere or press ↩. The new bookmark is slotted in according to its page number.
Editing bookmarks
Double-click a bookmark to rename it. Right-click offers:
| Entry | What it does |
|---|---|
| ✏ Umbenennen (rename) | Change the title. |
| ⏶ Nach oben, ⏷ Nach unten (move up, down) | Move it within the list. |
| Einrücken, Ausrücken (indent, outdent) | Make it a sub-entry of the entry above, or move it up a level. Sub-entries move with it. |
| 🗑 Löschen (delete) | Remove the bookmark together with its sub-entries. |
Build a table of contents with chapters and sub-entries
- Open the Inhalt tab in the sidebar.
- Go to the first chapter page, click + Lesezeichen, correct the title and press ↩.
- Repeat for every chapter and sub-section.
- Right-click a sub-section and choose Einrücken. It now appears indented below its chapter.
- Save with ⌘ S. The table of contents now shows up in other PDF programs too – and you can split the PDF at the bookmarks.
Reducing file size
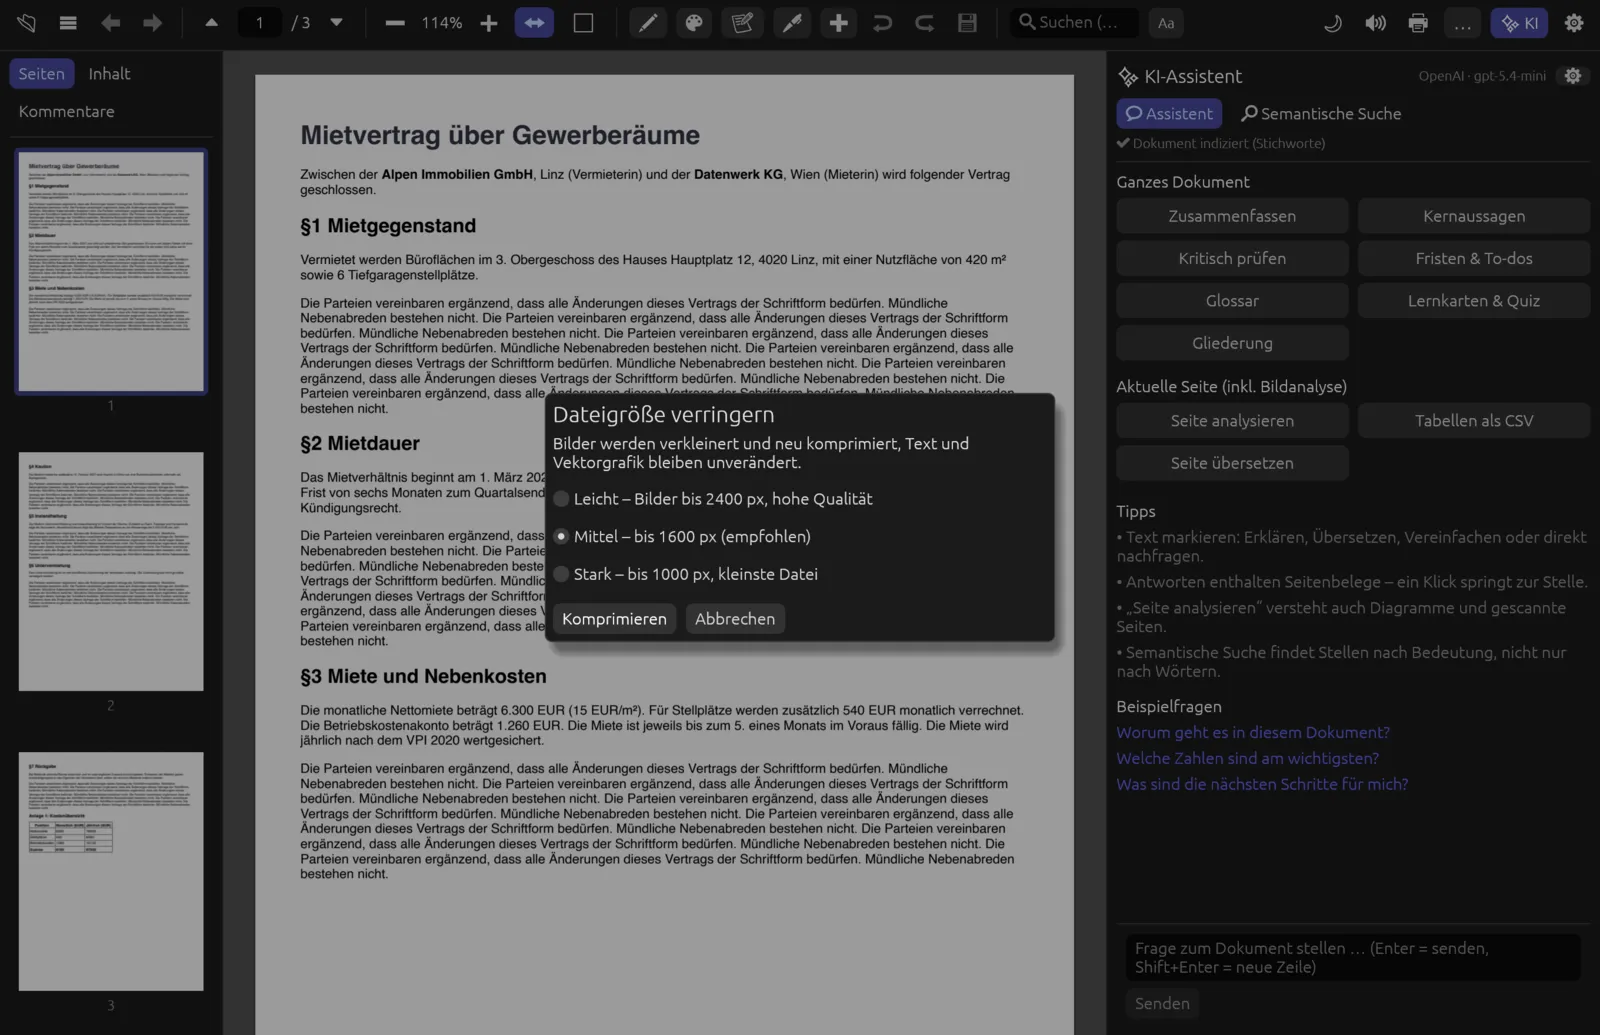
PDFs full of photos or scans soon get large. (reduce file size) downsizes the images and recompresses them; text and vector graphics are left untouched. There are three levels:
- Leicht – Bilder bis 2400 px, hohe Qualität (light – images up to 2400 px, high quality)
- Mittel – bis 1600 px (empfohlen) (medium – up to 1600 px, recommended)
- Stark – bis 1000 px, kleinste Datei (strong – up to 1000 px, smallest file)
After Komprimieren (compress), Pagelier reports the new size at the bottom of the window, for example “Neue Größe 1,2 MB statt 8,4 MB (−86 %) – Speichern nicht vergessen” (new size 1.2 MB instead of 8.4 MB – don't forget to save). If the images are already well compressed, it says “Keine Ersparnis” (no saving). The smaller version is only written when you save – use Speichern unter … (save as) to keep the original.
Compression only helps with images. A PDF that is mostly text will hardly shrink. If you have to stay under a size limit, you can split the PDF by file size instead.